Test using Virtual Locks
The Unloc API allows for the creation of Virtual Locks, these are Locks that are not linked to a physical device but behave like one: they can receive open and close commands via the Unloc app.
A Virtual Lock is meant to be used for testing your implementation while developing. You will find them useful when you haven't decided on a Lock Vendor yet but want to start implementing a solution, or you don't have a physical Lock with you to test out, or simply when you need to have a specific amount of Locks available on your Project — when you want to test a pagination feature, for instance.
A Virtual Lock is always associated with a Vendor of type virtual, which can hold up to 100 Locks.
Creating a Virtual Lock
1. Create a Connection to a virtual Vendor
virtual VendorUse the Create a new Virtual Lock Connection endpoint. With the locksToCreate property you can define the amount of Virtual Locks you want to create.
With the type property you can define the naming scheme of the locks to get a more realistic set of locks. The available types areresidential , commercial and other. If you add more locks than names are available, it starts iterating through entrances and floors.
| Type | Lock names |
|---|---|
residential | "Entrance A", "Gate A", "Garbage room A", "Technical room A", "Common Laundry room A", "Roof Terrace A", "Storage room A", |
commercial | "Front door", "Garage door", "Floor 1 - Zone 1", "Floor 1 - Zone 1 - Printer room", "Floor 1 - Zone 2", "Floor 1 - Zone 2 - Printer room", "Floor 1 - Zone 3", "Floor 1 - Zone 3 - Printer room", "Floor 1 - Meeting room 1", "Floor 1 - Meeting room 2", "Floor 1 - Meeting room 3", "Floor 1 - Stairway", "Floor 1 - Wardrobe", "Floor 1 - Storage room", "Floor 1 - Common area", |
other | Virtual Lock some ID |
2. Get the Virtual Lock IDs
After creating the Virtual Vendor, the Get Locks endpoint will return the Virtual Locks you just created within its regular locks array. You can quickly identify them by their name — Virtual Lock *some ID* — and vendor. Here's an example:
{
    "locks": [
        {
            "id": "c0f3aed0-2a7e-4de5-a0ff-3bfc22bfb6ef",
            "name": "Virtual Lock 475",
            "vendor": "virtual",
            "auth": {},
            "created": "2021-12-08T19:41:14.108Z",
            "duplicateLock": false,
            "canCreateKeysCount": 0,
            "keysCreatedCount": 0
        },
        {
            "id": "c1734ed2-8d54-486d-928d-cc108be7cc58",
            "name": "Virtual Lock ec7",
            "vendor": "virtual",
            "auth": {},
            "created": "2021-12-08T19:41:14.402Z",
            "duplicateLock": false,
            "canCreateKeysCount": 0,
            "keysCreatedCount": 0
        }
  ]
}
As mentioned before, you can start using them right away during your development process and create as many as you may require.
Keep in mind that as of today the API does not include an endpoint to delete Virtual Locks or Projects.
Creating Virtual Locks in Unloc Control Center
You can also create virtual locks in Unloc Control Center.
- Go to your Project.
- Open
Settingsand selectLock Connection - Click
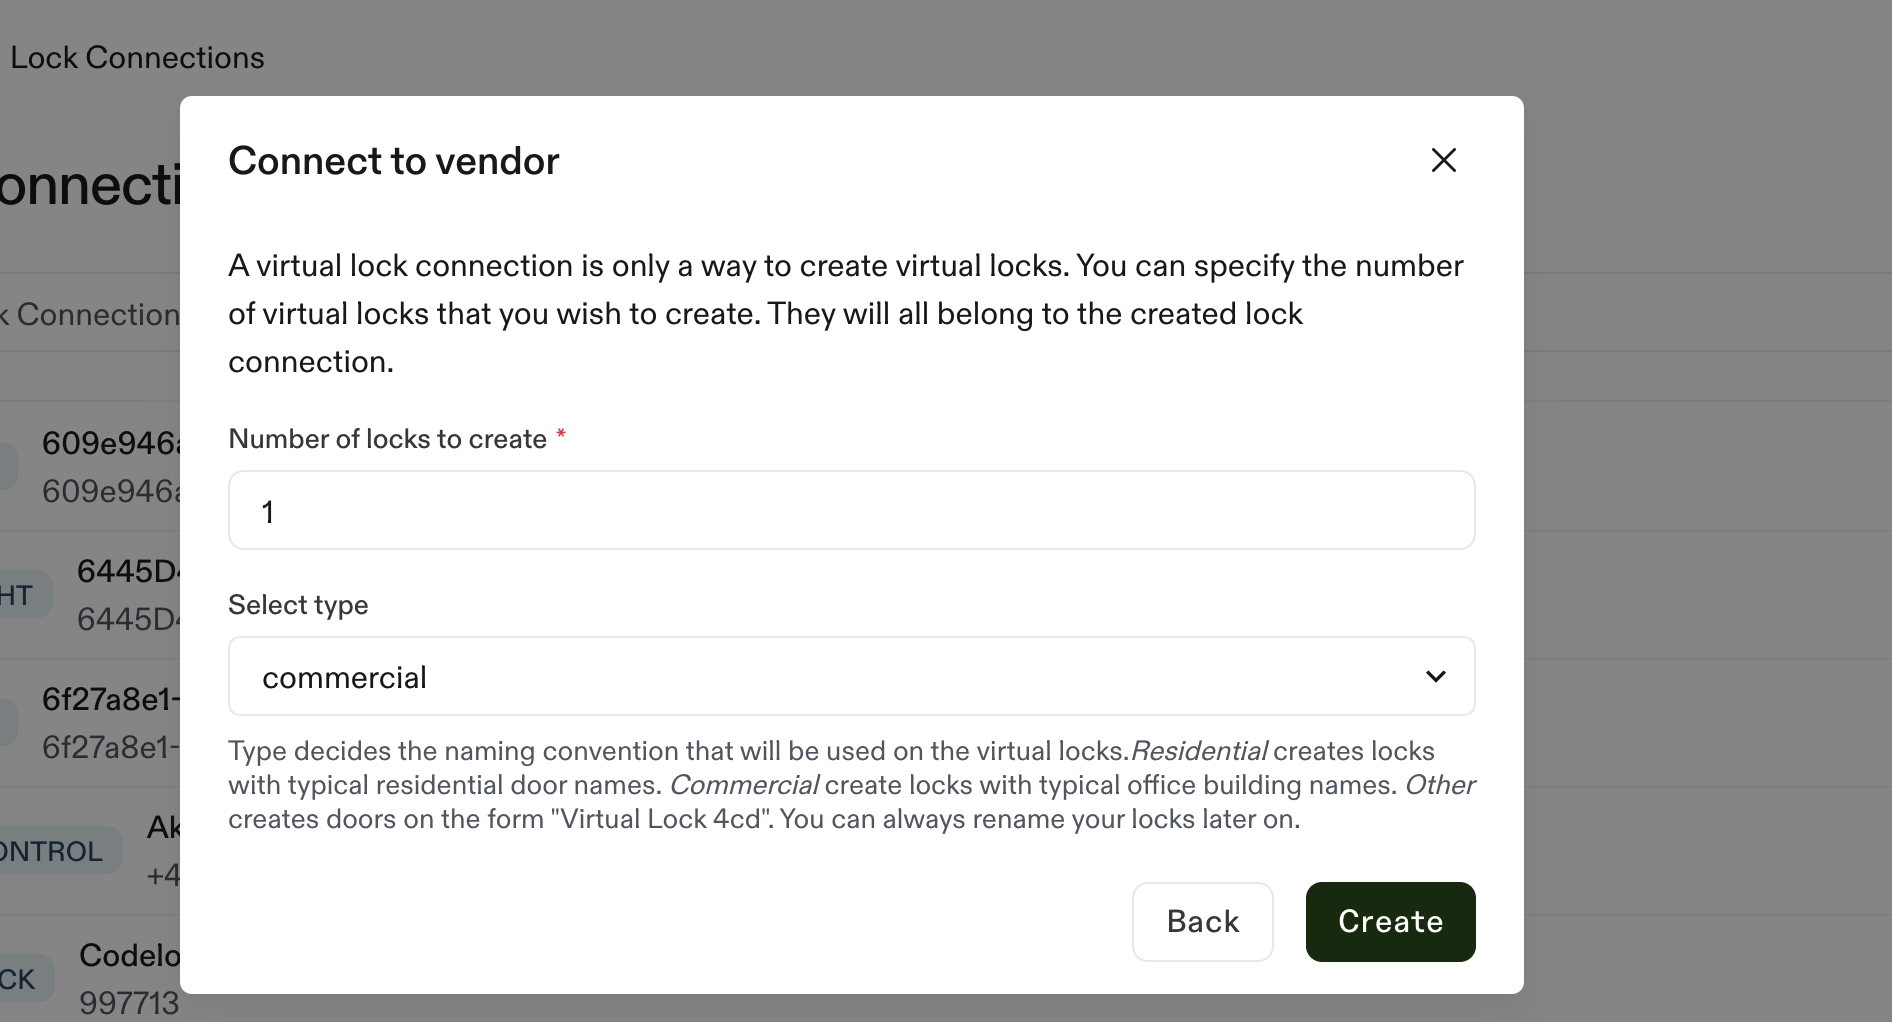
Add new connectionin the top right corner. - Select
Virtual - Select number of locks and type and click
Create
Updated 10 months ago